Beeing the first software house releasing Windows Widgets to display information from a Content Management System-Site we will explain here in detail how everything works. It's very simple and user friendly. For webmasters this Widgets are a real must have. We are proud to introduce this innovative idea to the CMS community and set new trends. If you need new widgets, just contact us and we will send you a quote.
The first step in having our Factory Gadget on your Windows Desktop (Sidebar for Windows Vista) is to install the Joomla Extension on your Joomla driven website. According to the version Joomla CMS version in use, choose the correspondent extension.
Requirements.
The Gadget Factory Joomla 1.0.x version has support for the following Windows Widgets and Joomla Components:
- Gadget Factory Joomla Users
- Gadget Factory VM Orders (support for Virtuemart ver. 1.0.x)
- Gadget Factory VM Totals (support for Virtuemart ver. 1.0.x)
- Gadget Factory VM Reviews (support for Virtuemart ver. 1.0.x)
- Gadget Factory SMF Forum (support for SMF ver. 1.1.x as Bridge to Joomla)
- Gadget Factory Joomla Users
- Gadget Factory VM Orders (support for Virtuemart ver. 1.1.x)
- Gadget Factory VM Totals (support for Virtuemart ver. 1.1.x)
- Gadget Factory VM Reviews (support for Virtuemart ver. 1.1.x)
- Gadget Factory Kunena Forum
- Gadget Factory Briefcase (support for Briefcase Factory ver. 1.5.x)
- Gadget Factory Love (support for Love Factory ver. 1.1.x)
Website Installation.
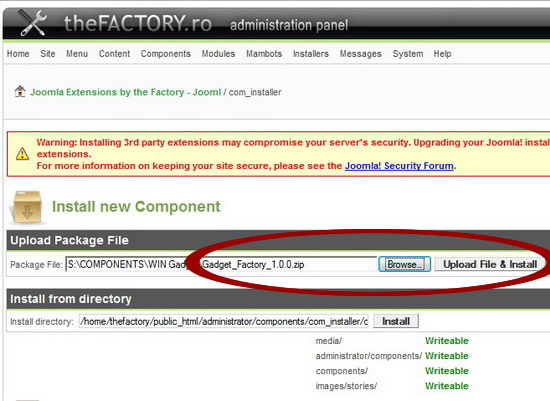
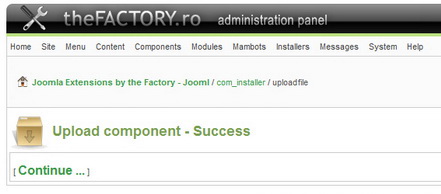
Download the correspondent component version on your local computer. In a browser, log on to your Joomla Backend panel on the website you want to retrieve the data and install the extension.
Configuring the Extensions.
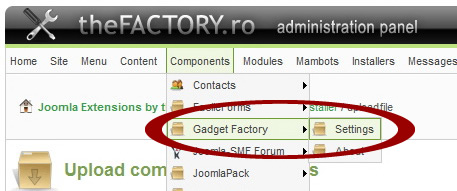
Under your Joomla Website Administration Panel go for the Gadget Factory Settings.
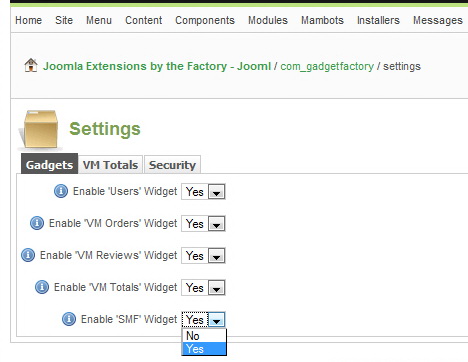
Check to YES, for the widgets you want to use on your Computer desktop. This will allow the Gadget Factory extension to retrieve and prepare the data from various Joomla Components and make it available for the Desktop widgets, through a password protected connection.
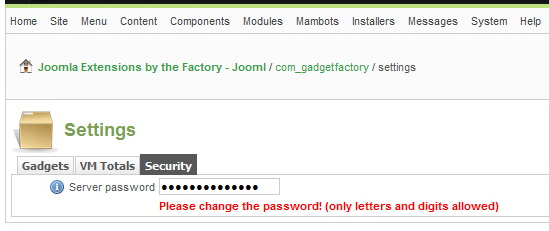
Here you can type any password. It does NOT have to be the site administration password; for a better security, we recommand to choose a different password. Also remember this password since it will have to be later introduced in the Widgets configuration on the desktop in order to connect to the website and retrieve the data.
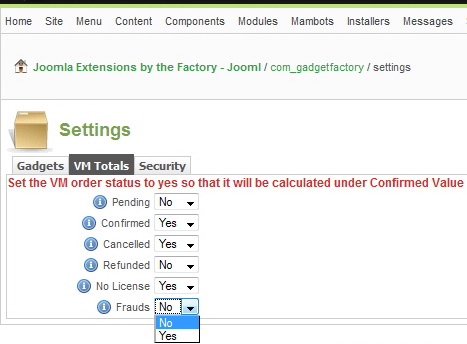
More particular settings are for the "Virtuemart Totals" gadget available. Here, all the existing order statuses from your Virtuemart installation will be displayed, then according to your needs you can set this statuses to YES in order to be calculated and displayed in the widget under the Confirmed Value, Items/Order, New/All Clients. This settings will not affect your Virtuemart configurationin any way.
After configuring the Component, press the SAVE button and your settings will be saved. Now you are ready to install your Windows Gadgets .
Before using this new feature, make sure the source feed you want to import the full articles is refreshed (meaning you have the latest stories from that site). You can achieve this under "Manage source feeds", by clicking the refresh icon for your specific feed. In our case, we have "NY Times US".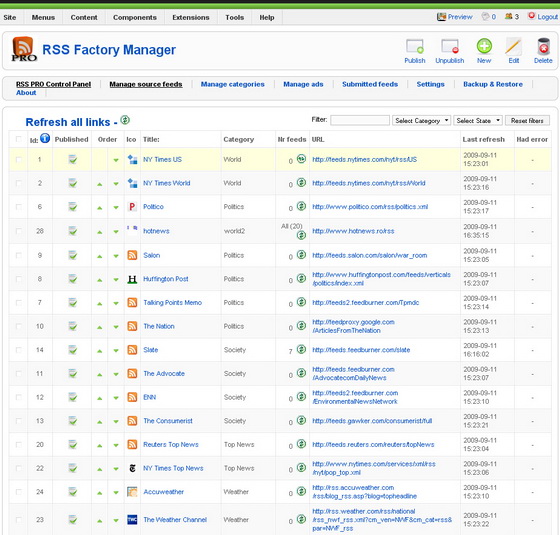
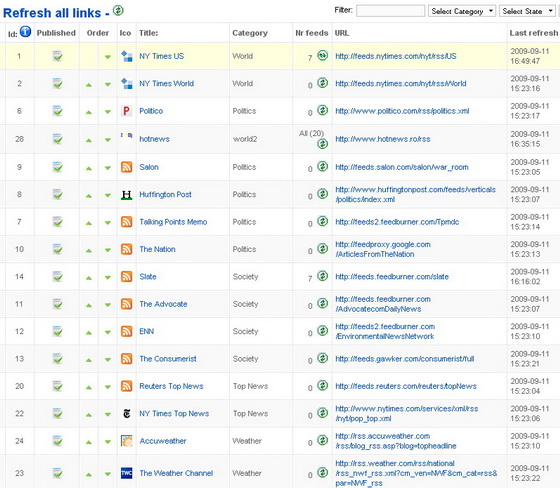
After refresh, edit the selected feed source, by clicking its name. 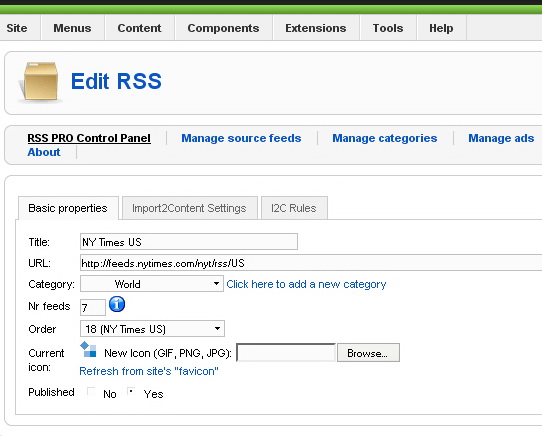
The most important setting for this feature, is available under the "Import2Content Settings" (second) tab, called "Import full article".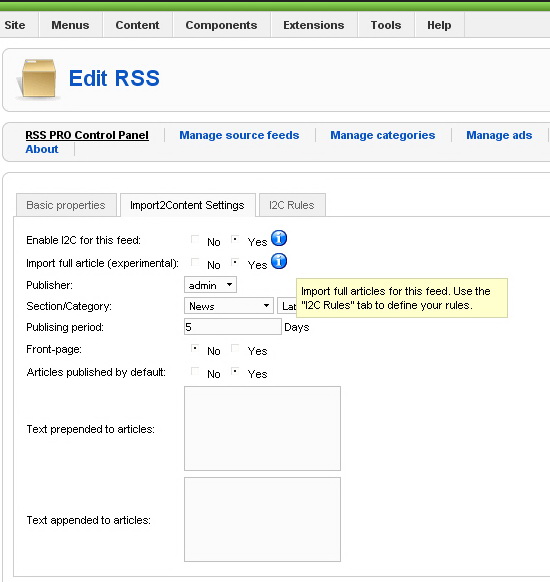
Using this, you can switch this feature on/off for this specific feed source.
Now we go to the (third) tab "I2C rules". 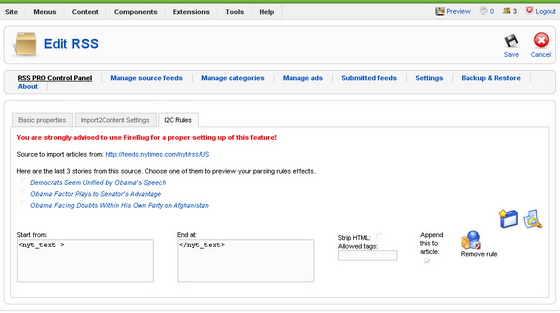
We will start with the recommandation to use Firebug Extension for the Mozilla Firefox browser. Please do so, since this is more the helpful and necesary! First of all, select one of the last 3 stories from this source.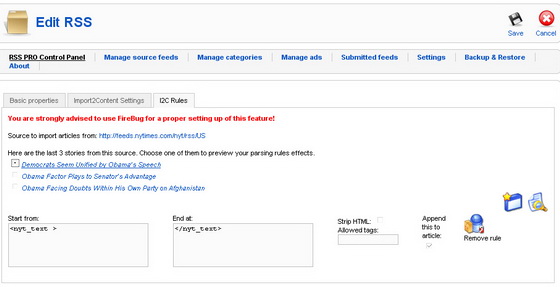
The preview feature will work on that one. By clicking thie name of this story, you'll get it open in a new page, where you can work Firebug's magic on it.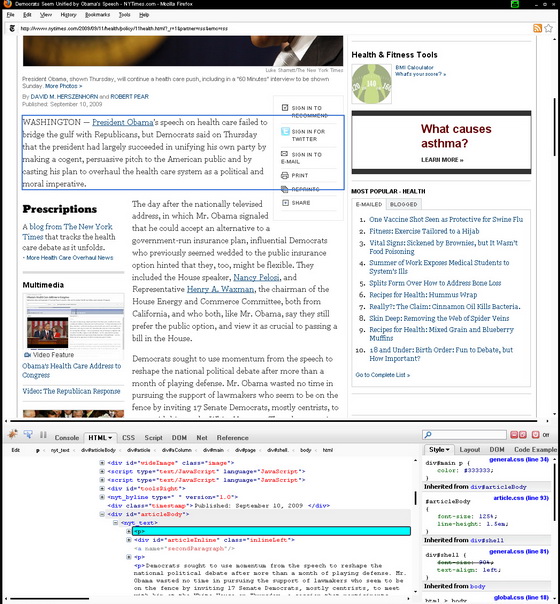
When you find, using firebug, where are the start and the end points for the full article, click the "New rule" button. This will provide you with a series of fields where you can define your new parsing rule. Now it's time to complete the "Start from" and "End at" fields. Make sure the "Append this to article" checkbox is checked 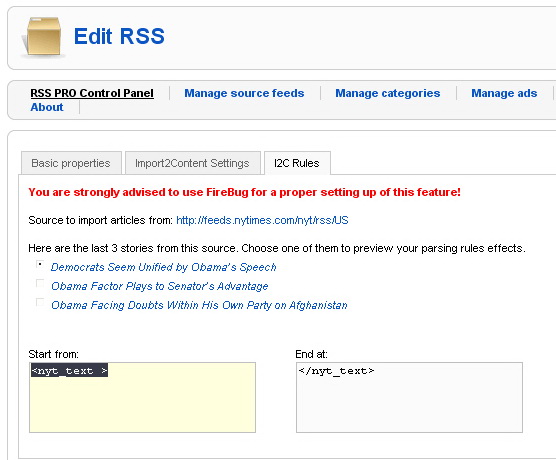
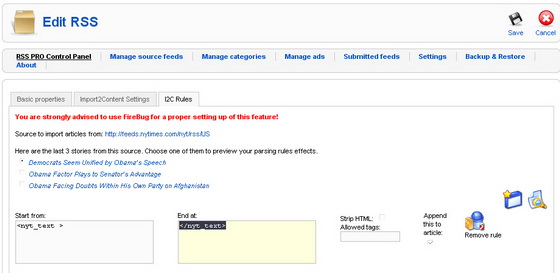
As you can see in the images, for NY Times we found the articles start with "<nyt_text >" and they end with "</nyt_text>".
Next step: hit the "Preview" button. After a short waiting (the script tries to get the content from the desired page), 
you'll see the results. If the parsing rule(s) you have established are correct, you'll get something similar to this image.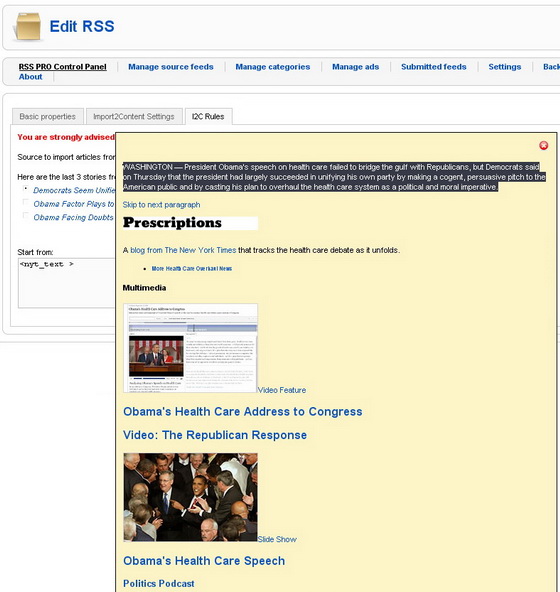
In the end, if you're satisfied with those rules you made, don't forget to save your work.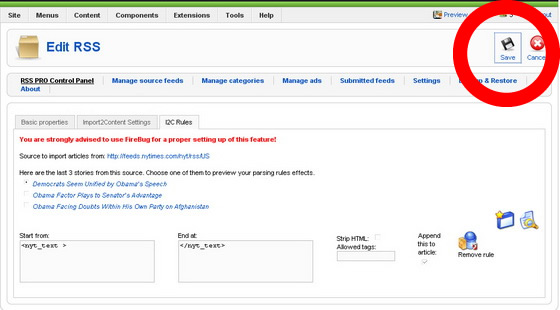
This Tutorial is compliant with rss Factory PRO 1.5.5.
- payments to site (commissions, listing fees, featured listing, bidding, etc.)
- the auction winning bid payment form to the auctioneer Paypal's email
Payment gateways must be enabled and configured for internal site payments.
This can be done in Payment Methods section in the component back-end. Here particular settings for payment gateways can be saved. For instance, Paypal needs to have information on the Paypal account to which the payment is done, the testing mode selection, etc.
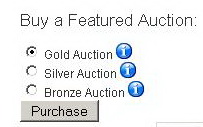
Featured Pricing (gold, silver, bronze)
Buying credits
The credit situation is displayed in the profile page of each user. From there users can buy credits and use them later by clicking on "Purchase":
By clicking this, users will be redirected to a form where they can choose exactly what
type of credits they want to aquire.
From this form they are redirected to Paypal and the rest is up to Paypal for the moment.
 |  |
Spending credits
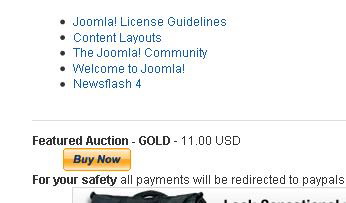
For instance if you want to promote your auctions to featured gold position in the site listings, you can do this by upgrading your auction from the auction detail page.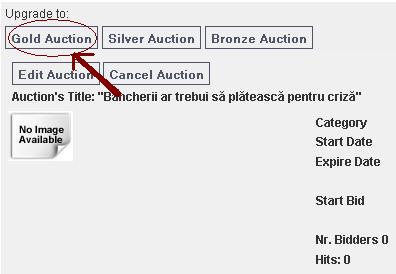
If you do have "Featured Gold" Credits, by setting this feature, this type of credit will be "consumed". Else you will be redirected to a payment form for buying a "featured gold" credit to the auction in question.
When the user part of the payment is done, PayPal will send an IPN notify (IPN must be enabled in the Paypal account settings!) to the site with the payment information and status. The IPN will arrive if the payment is valid, directly accepted if the buyers Paypal account is trusted or manual accepted. In the latter case the payment must be approved by web master and only after this, the credit will be available to the buyers account.
Here is a sample of how it looks a manual accept payment in the "View Payments" section (component back-end).


By "Approving payment" from here, the acquired credit is transferred and the eventual auction is automatically made featured.
Note:
If, due to server or what so ever reasons the auction is not automatically promoted featured and you (the webmaster) are
informed (you see in your Paypal account the succesfully made payment, etc. ), by this you can manually set the auction featured in the auction detail page in back-end.
Commission Pricing
The commission is a requested fee, demanded at each successful closing of an auction (the acceptance of a bid, BIN, etc.).
The main idea is that the auctioneer is taxed a percentage for each sold auction.
Configuring Commission Pricing
In back-end there are configuration settings for the Commission Pricing Plugin in "Payment Items" section. 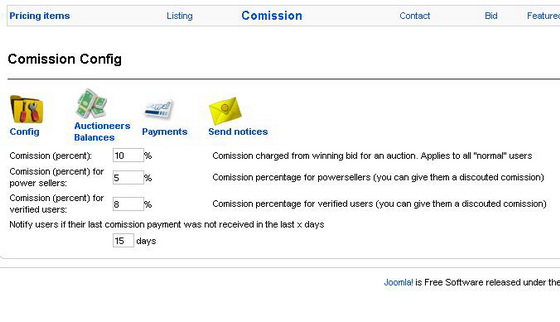
As in the image, different commissions for user types can be set up. You can set up the default percentage for regular users, or commissions for Power Sellers or Verfied Users.
An extra feature of commissioning is enabled in "General Settings" section, in "Preferential payment categories" tab. Here you can choose if only specified categories can be commissioned. For this, you must enable the option and select the certain categories intended to be commissioned.
You can also choose custom prices for cateories in the plugin configuration, if the "Preferential categories" is enabled. 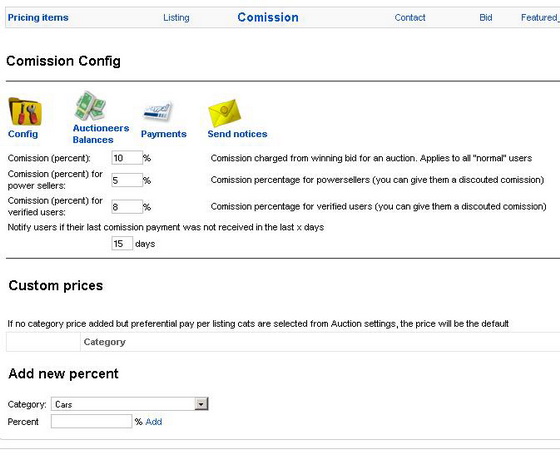
Commissioning
Let's say, for instance, auctioneer sorin has accepted a bid of 20.00 EUR for an auction of his.
If "Commission Pricing" is enabled, then the commission percentage is calculated in the following manner and order:
- if the auctioneer is a power seller, then the percentage is the Power seller price
- if the auctioneer is a verified user, then the percentage is the Verified price
- if preferential categories enabled, the category of the auction in question has a commission price, it is returned this price (ie percentage)
- else the regular commission is returned.
In this case the commission is the default (let's say 10%) and the price percentage of the commission applied to
the auction closing in question is 2.00 EUR
Auctioneers balances can been seen in plugin configuration section, in Auctioneer balances menu.

The commissioning is followed naturally by the payment of the commission.
Each auctioneer has a commission status in his profile from where he is redirected to make the payment.
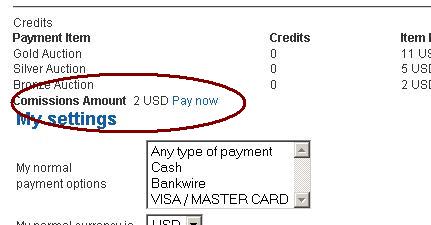
The commission can be actually payed partially and automatically adjusted in the auctioneers balance.
In the next form (redirection form when choosing to pay the commission) you can enter an amount you want to pay.
By default, the form is auto completed with the total of commission the user has to pay at that moment.
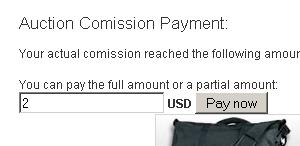
As for each payment pricing item, after the payment is been done in Paypal or other payment Gateway, it has to be manually accepted if it comes with the "manual check" status.
Contact Pricing
The pricing item is available only for non-CB users. If enabled, contact information of a user profile are hidden and can be seen only consuming a Contact credit.This feature is not available in CB because Community Builder displays by it self the profile of an user and only setting up restrictions of privacy directly in CB can prevent hidding the user details in case of an active CB.
Contact buying is as for every credit buying. You are redirected to the buying form (from the Auction Profile page) and choose to buy credits to view hidden profile info.
Contact credit is bought when the payment will be accepted in back-end as for every payment pricing.
Bid Pricing
Pay per bid feature is for buying a biding process. Every time an user bids, it will consume a biding credit or redirected to buy one if no credits.As for every pricing, the bidding credit is bought when payment accepted in back-end.
Winning bid payment
The auction winning bid can be payed in Paypal directly to the auctioneer paypal email. This implies that the auctioneermust have a paypal email saved in his profile! Otherwise the Paypal Button will not be displayed on the won auction page for the winner.
If Community Builder is present, CB Field for Paypal email must be created and integrated in the component .
For the PayPal payments to be automatically registered by the Love Factory component, you must activate the IPN for your PayPal account.
How it works?
When someone makes a payment to your account, PayPal sends a notification to the website so it can know that the payment was made. This is called IPN (Instant Payment Notification).
But if you haven't activated the IPN, then no notification is sent and the Love Factory component doesn't know if a payment was made or not.
Information about activating IPN can be found under https://developer.paypal.com/docs/api-basics/notifications/ipn/IPNSetup/
Please make sure that the "Receive IPN messages" is checked.
Leave the "Notification URL" empty, as this value is already sent by the component when a user makes a payment.
Revised "Love Factory" version 1.2.x.
To uninstall go to Extensions > Install/Uninstall > Components
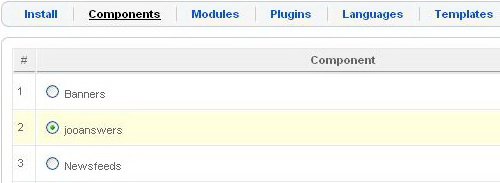


This Tutorial is compliant with jAnswers Factory 1.0.6.