Briefcase Factory is the only Joomla equivalent for Yahoo's Briefcase. Your users can store files, documents, images in their accounts and choose to share them with other users or with the wide public. The user interface is intuitive and uses AJAX for several operations, therefore no page reloads to slow down your work.
Your files are easy to access and manage through Frontend of the component:
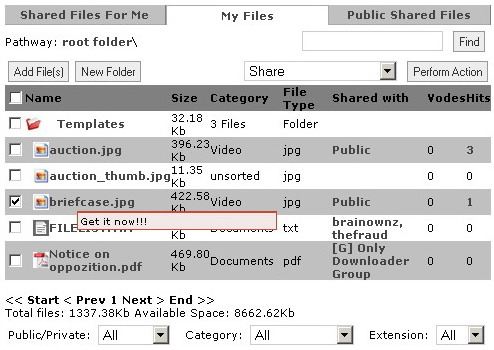
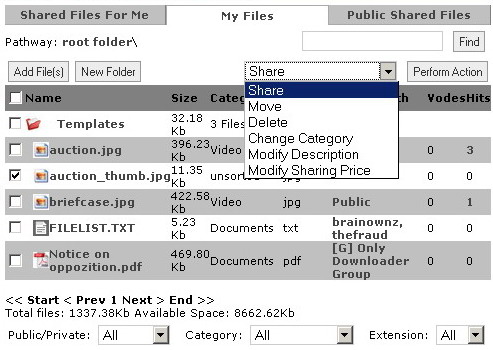
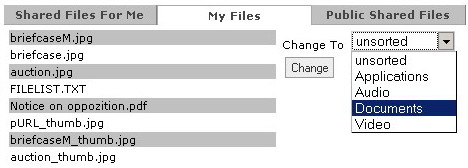
Main features are: Add new files and folders, Share files to users, Move files to other folders, Change category of the files, Modify description and sharing price (vodes).
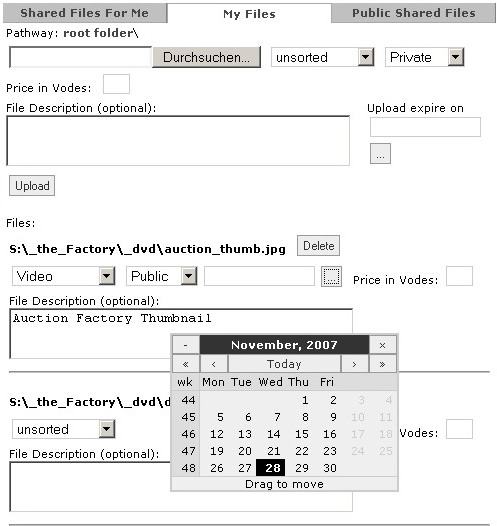
You can ADD more than one file at a time; number can be set in admin backend:
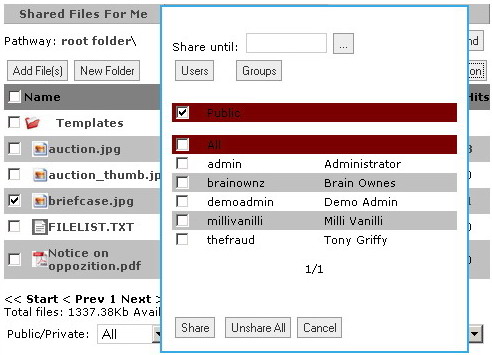
The uploaded Files can be SHARED with one user, more than one user, all users, or with the public (registered and unregistered users):
If you uploaded some files in the wrong folder you can always MOVE them as you please:

Files can be assigned to several Categories (configurable in the admin backend). Of course you can change the category also after upload:
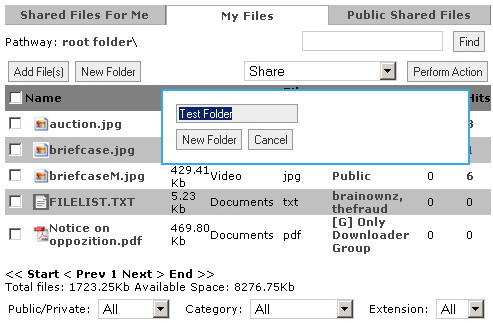
Create Folders where you like, even folder in folder, no limitations here:
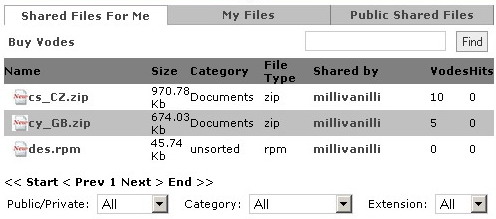
Files Shared for Me by other users are accesible under this area - now you can see the power of BriefcaseFactory:
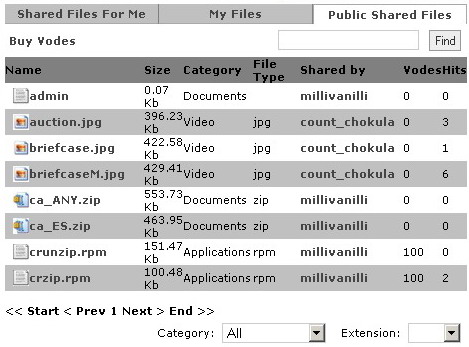
Public Shared Files is the place on your site where any visitor can view or download files:
In the Administration Backend you can configure the main features of this unique component:
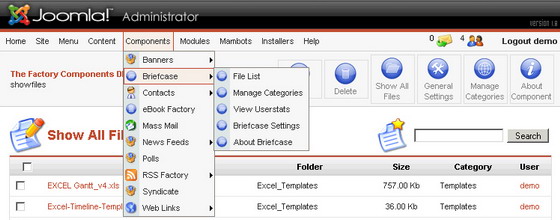
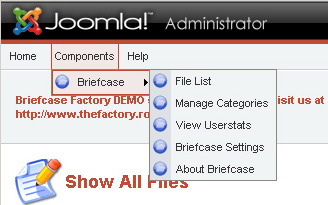
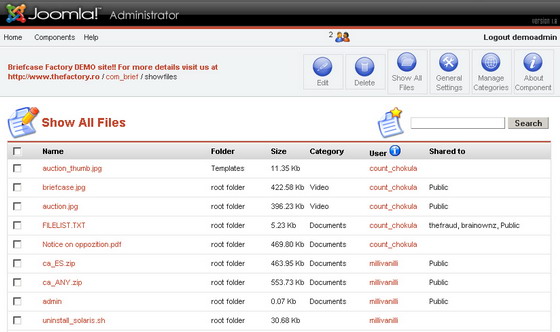
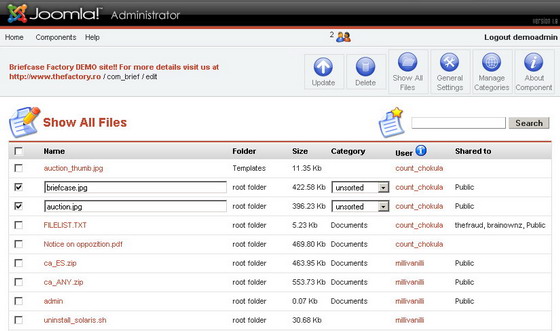
Logged on as administrator you can access ALL the Files uploaded by all users on your system. You can search after certain terms or filter one particular user. Any file can be deleted, renamed or you can change it's Category.
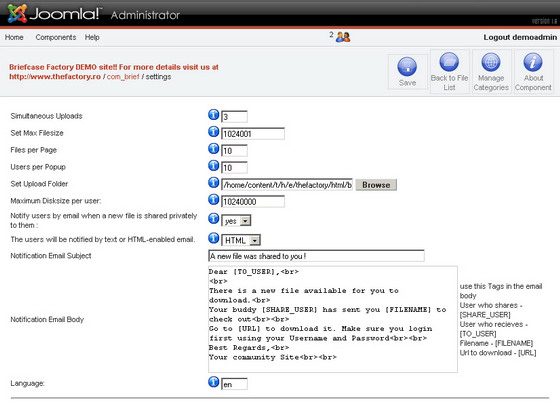
General Settings of the JoomlaComponent is the area where you configure the following core features:
- Number of Simultaneous Files that can be uploaded by one user;
- Size Limit per File that a user can upload into the system;
- Number of displayed Files per Page;
- Number of Users that are listed on the Share-Popup;
- Store Pathway on the Server where all the User Files are stored;
- Size Limit per User;
- Notify Users by email when a new file is shared privatly to them;
- Notification Email Type (text or html)
- Notification Email Subject
- Notification Email Body
- To change the Language from english to german type in 'de' and place a file with a proper translation called 'de.php' into dir '.../components/com_brief/lang/'.
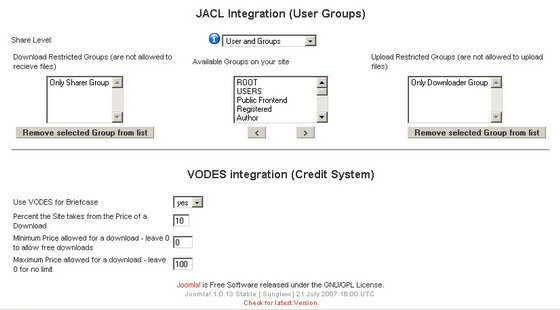
- JACL Integration (User Groups) SETTINGS
- VODES Integration (Credit System) SETTINGS
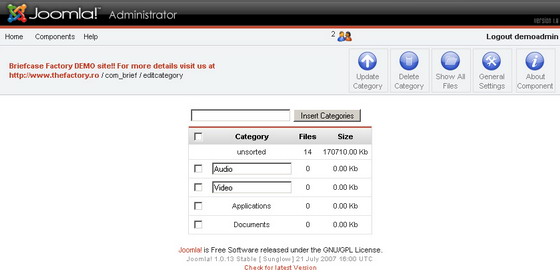
As administrator you must set up a list with Categories suitable for your website. Users can assign their files under these categories.
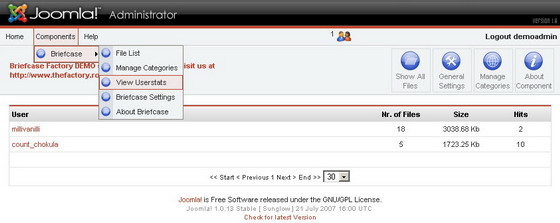
Last but not least, any web administrator loves to see some Statistics:
This Tutorial is compliant with Briefcase Factory 1.1.x.
| If you want to test eBook Factory in the Joomla Backend please go to: http://ebook-factory.thefactory.ro/administrator |
The purpose of this Component is to facilitate the creation of PDF eBooks directly out of Content items in your Joomla installation. PDF's seem to be loved by Google, and that is always good news. Also you can include PDFs as Attachements to your newsletters, allowing users with Text Email clients to view a colorful content of your newsletter.
Also you can use your content as a valueable asset and market it in the form of an eBook, making it available for subscribers or paying customers.
getting started to use eBooksFactory...
For the moment there is no Frontend version of this component, the component is just for the Administration Backend.
First Install eBookFactory like any component in your Joomla server.
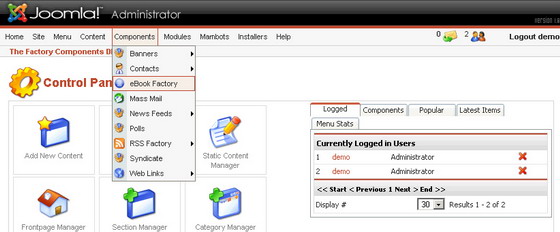
Then in the component administation, choose "eBook Factory"...
next you will see your list of available eBooks (after installation the list is empty).
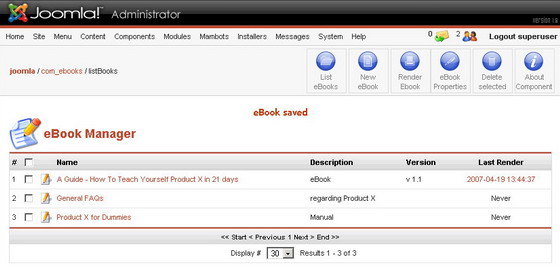
Choose "New eBook"..
In the eBook Configuration screen you can set up all the global settings regarding your eBook. That means fonts, spacings, alignaments, columns per page, ...
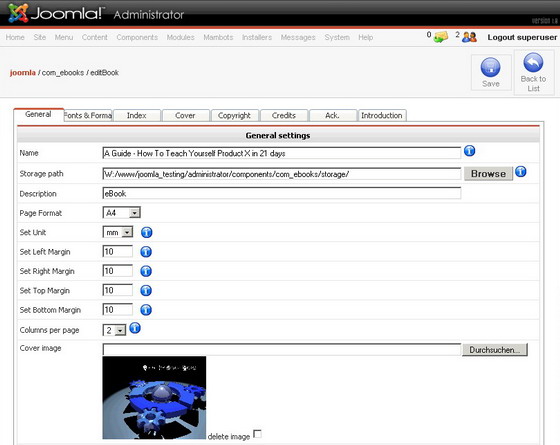
The name of the ebook will be the FILENAME under witch the PDF will be stored (of course with a pdf extension). You are able to use spaces, and upper and lowercase. Special characters we would not reccomand if your filesystem does not like them.
The StorePath is by default in your component "storage" subfolder. You may use any server path (choose browse if you are unsure of your paths). Just have in mind that if you don't want people having access to your PDFs you must use the proper .htaccess for this folder.
Page format settings are self explanatory, mostly margins and measurement units that are common in PDFs.
Columns per Page - is a very important setting, since that is what gives an nice look to your content. This setting allows you to determine the number of columns that a content page will have in your PDF. Cover, index, introduction are not affected by this setting.
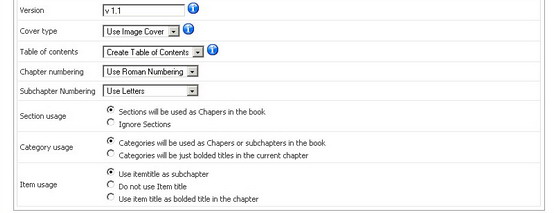
Version - this will be a PDF internal setting, also for you to keep track of your eBooks. There is no verification of any format; you can use any text for this.
Cover type - your eBook cover can be a JPEG or a Text written in the "Cover" section; or both. Image Cover make a nice impression allowing you to include some nice logos, and the text covers will allow you to use relevant keywords for Google to spider on.
Table of contents - can be automatically generated. It will have also links to the corresponding pages. This is a very nifty feature of this component. You have no worries writing TOC's and making links to the content page.
Chapter and subchapter numbering - are used to set the way you need your chapters to be numbered - with Roman numbers (I, II, III, IV, ...), Arabic numbers (1,2,3,4, ...) or (only for subchapters) Letters (A,B,C,D, ...). This option makes your eBook layout very flexible and is automatically used for the Table of Content that is automatically generated.
The next three options - Section usage, Category usage, Item usage) - refferre to the creation of titles in your eBook content. All this are the Joomla's own Section/Category/Item Titles that can be wether used or ignored by the book generator. Sections can be used as chapter titles, as are Catergories. There is the possibility to use subchaptering like a nice eBook.
Next big section of configuration are Fonts & Formats.
You can choose the font for your Headlines, Chapters, and Content itself. Also the color of your text and the background of the Chapter font!
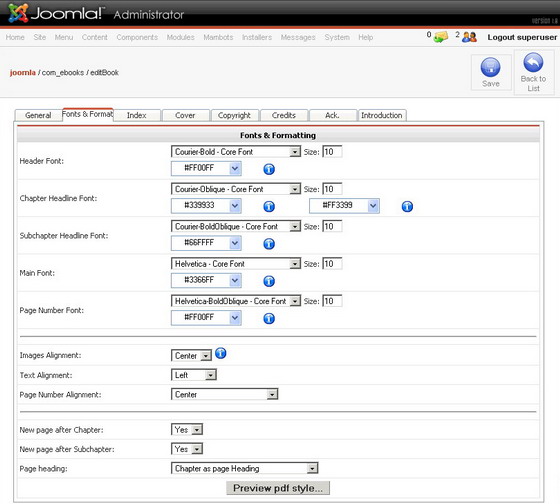
Image Alignment - used only for images that have NO SPECIAL align tag or setting (THE COMPONENT PARSES { mosimage } tags and HTML <img tags )!! Content text will flow besides images if the size does not fill a column! This produces a better readability if the text refferes to the image!
Text alignment - Alignmet of text in columns.
Page number alignment - left, center and right (it's where the page number will lay).
New page after chapter / subchapter - if the component begins a new page after a chapter is ended. You can choose to have no page break so the text flows along.
Page heading - will display on top of every page.
Copyright, Credits, Acknowledgments, Introduction - are individual pages that display in a non-columnar format BEFORE the content, so you can use them as a preamble to your articles.
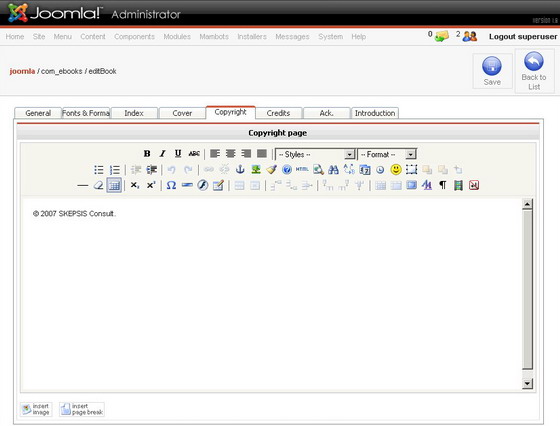
After all the settings are according to your wishes, you must save the eBook, and you will return to the ebooks list.
After this you must add CONTENT to your ebook. The ebook has meaning only after this step! Go to "Ebook Properties" or click on the Ebook Title!
You will then arrive to the list of items that your ebook contains; for a new ebook this will be empty!
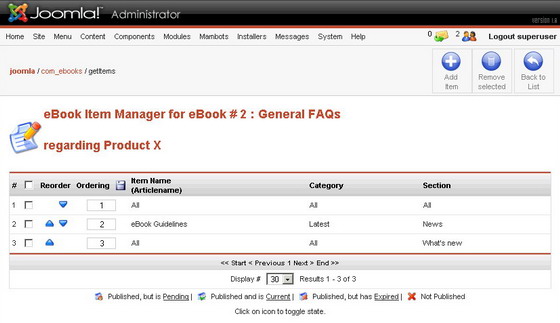
Press Add Item, then coose the items you want to add!
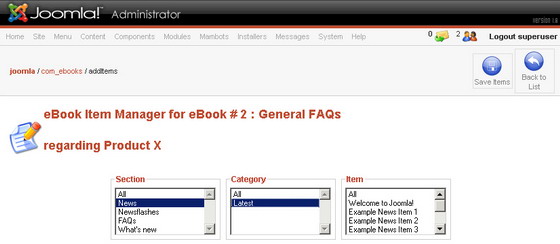
If you choose a Section and then "All" as a category, then ALL the categories in that section will be added to the book. This option is DIFFERENT as selecting all categories one by one (using CTRL-Click)! If you choose ALL, and add categories in the future to the section (from normal Joomla content management), these will be included in your next rendering of the book. This feature is very useful since you can re-render fast changing content without having to manually add items.
After choosing some items you must press save, and you will arrive to the Items list, where you can add further items if needed.
After this your first EBOOK is complete. You have just to Click RENDER, and you will have the PDF directly on your server!!
You can render one or many ebooks (click the tickbox next to the one you want to re-render).
This Tutorial is compliant with eBook Factory 1.0.0.
Step 1 - Install as any Joomla Component by using the Standard Menu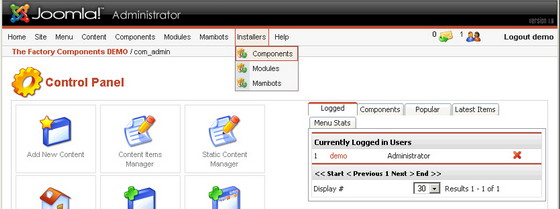
Step 2 - Configure rss Factory from the Component Menu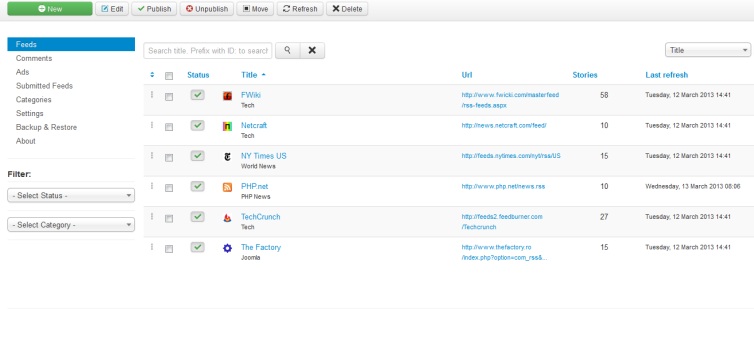
There are several settings to configure:
A. General Configuration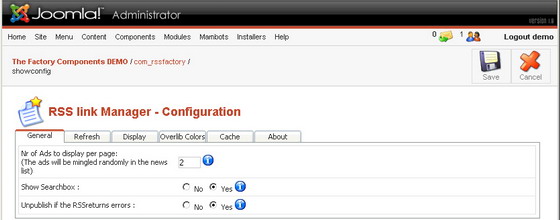
Here you can set the Number of Ads to display between the RSS feeds. Set to 0 you disable this feature.
Also you can disable the searchbox in the component (you can do it safely because there is a SEARCH Mosbot for the RSS component that will allow you to search the feeds from the joomla search box (you know - the search box that appears in many templates).
B. Refresh Configuration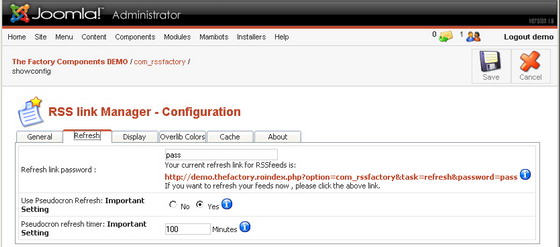
There are two options for refreshing the feeds in the component:
b1. by CRON, or manual refresh using the link provided here
To set up cron you can set wget '[provided link]' as process (for example in CPANEL);
b2. by Pseudocron - that means after at least 100 (or any number you set) minutes, if an user opens the component, the feeds will be refreshed.
C. Display Configuration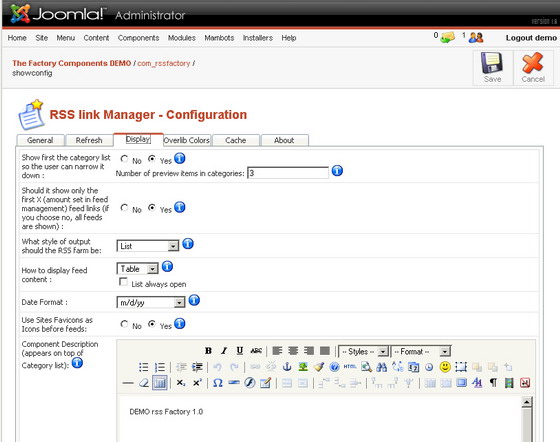
You can choose if the category list will be shown, or if the feeds will be displayed directly (all categories), and if the feeds will have a preview in this category list.
Also here you can choose the display style of the component (there are several combinations, check them out and choose your favorite).
The date format can be set according to your prefference - American m/d/Y, European dd/mm/YY.
The component can display feed icons (the component gets them directly from the feed site or you can change them as you need).
D. Overlib Colors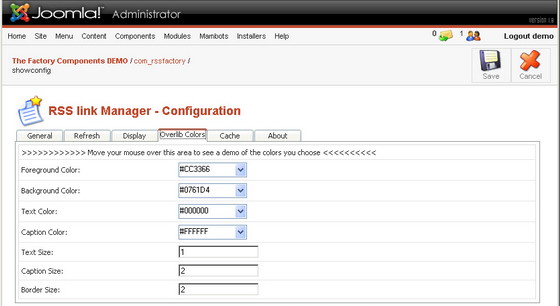
These settings make only sense if you choose overlib output. These settings could be unfortunately overrriden by your template.
E. The Cache Info
You can clear the cache if the database gets too crowded; should not be neccessary, but you could need it someday.
F. About Box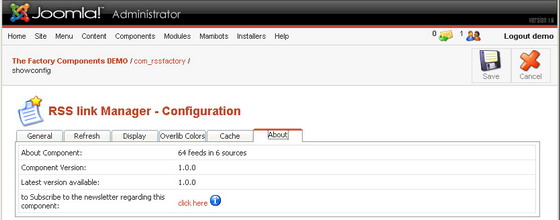
Just some Info about new releases of the component - you can subscribe to our newsletter to be up to date with new releases of this component.
Step 3 - Set up your Feeds
Under "Manage RSS Sources" you can add more feeds to your site. Currently we suppor ATOM, RSS0.9, RSS1.0, and many more..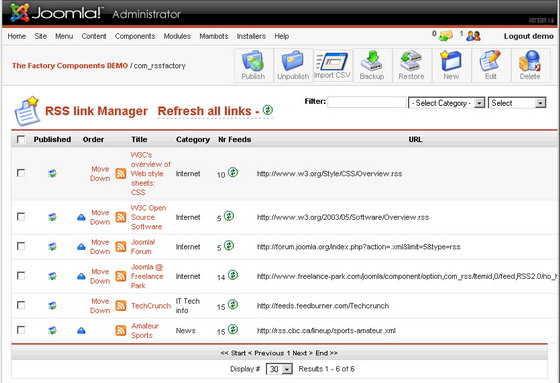
You can backup your feed list and later on restore it (useful for component upgrades), or you can import CSV files (check the example CSV provided with the component). From this Screen you can also refresh all RSS Feeds or any particular one by clicking the green round button.
Step 4 - Manage your Ads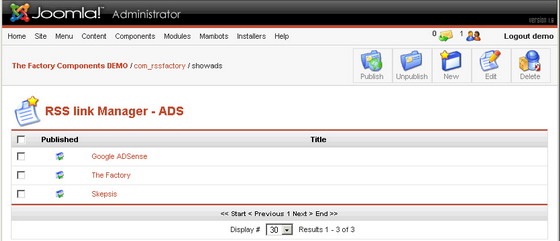
Here you can add banners or Google Adsense to mingle it between the RSS Feeds. The position will be random between the feed blocks.
You can also manage the categories you have chosen for the feeds:
Here you can rename them, delete them...
Have fun and Please check from time to time the about box for new updates and announcements!
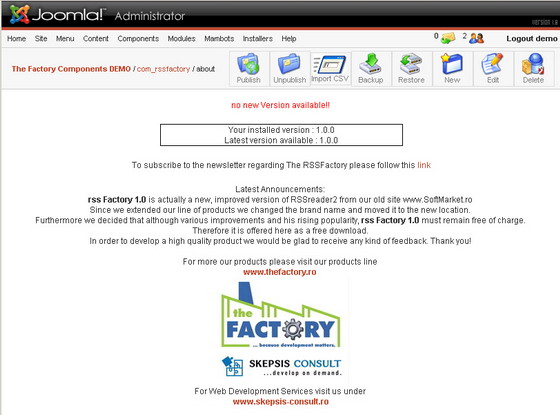
This Tutorial is compliant with rss Factory 1.0.x.
For FAQ's and Q&A please check our Forum ! At this moment the RSS board has over 3.600 posts in more then 940 topics.
Basically in Joomla, images work by selecting a list of "Content images" and then adding the "mosimage" tag in the content to specify where they should appear.
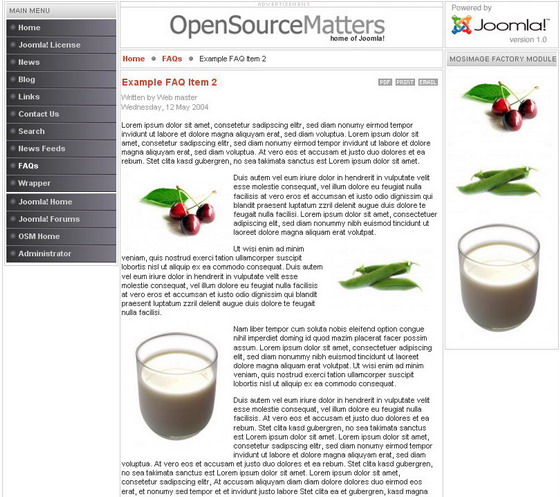
This extension takes automatically the images from the "Content images" list and place them into a module on the relevant articles page.
This would mean that the publisher will not have to add the mos tags manually in the module and will have control where to place the images where ever on the page by just selecting an area for the module.
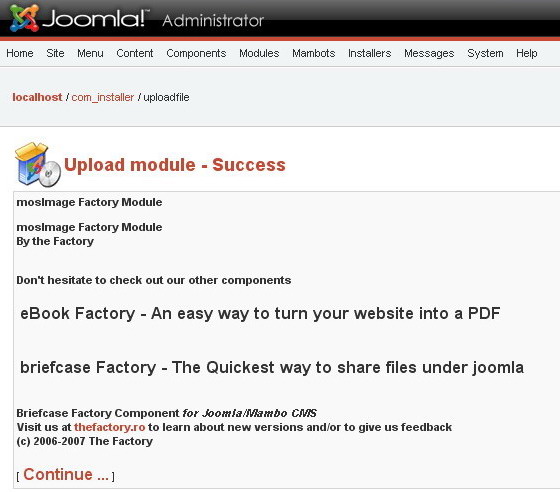
Step 1 - Install as any Joomla Module by using the Standard Menu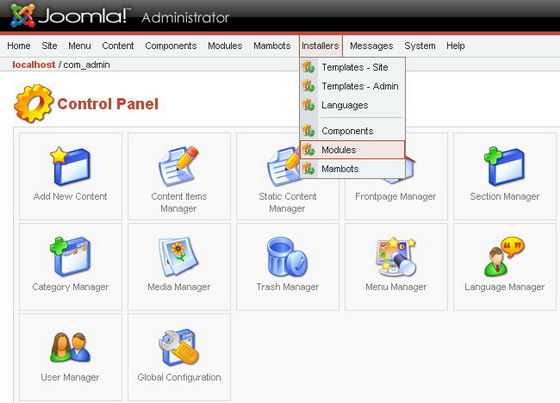
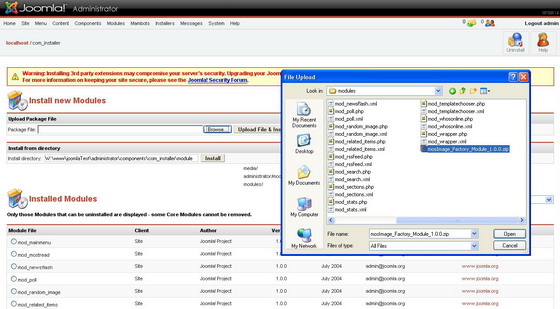
Step 2 - Configure mosImage Factory Module from the Module Manager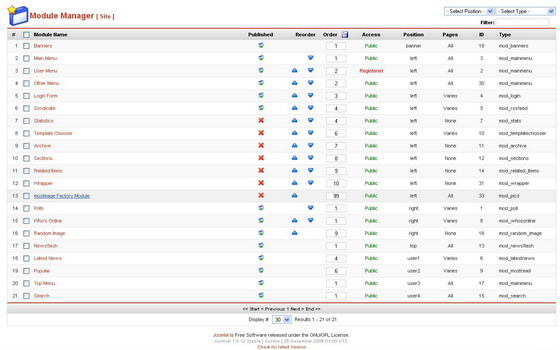
Step 3 - Available Options
- display or hide image captions below
- align images horizontally or vertically
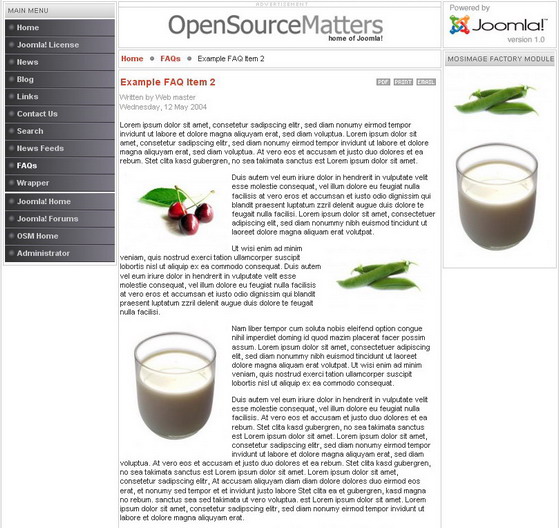
- ignore first image (this option is letting the first image into the content, putting only the rest into the module)
A. First Image is beeing displayed (see image below).
B. First Image is beeing ignored (see image below).
This Tutorial is compliant with mosImage 1.0.0.
For more FAQ's and Q&A please check our Forum! At this moment the RSS board has over 3.600 posts in more then 940 topics. |