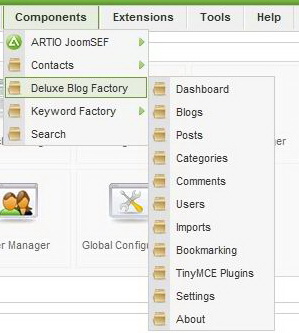
To access the Deluxe Blog Factory backend go to Components and click on Deluxe Blog Factory.

The Blogs page is also where you can import blog posts into Joomla! content, when someone writes an article in the imported blogs an article is also created in a Joomla! category.
To import a blog just select the blog or blogs you want to import and click on Import content in the upper right corner of the page.

You can either choose to go to any section of the backend or if you click on Deluxe Blog Factory the Dashboard will open.
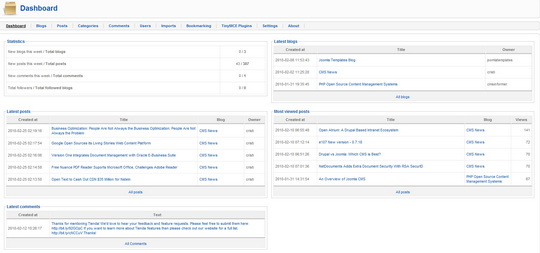
On the dashboard you can view the Statistics, latest blogs, posts, comments, and also the Most viewed posts. Clicking on All Posts/Comments/Blogs will take you to their respective section in the backend.

Blogs: Here you can view all the blogs on your website, publish or unpublish them and some information about the date they where created, by whom and number of posts in them.

On the dashboard you can view the Statistics, latest blogs, posts, comments, and also the Most viewed posts. Clicking on All Posts/Comments/Blogs will take you to their respective section in the backend.

Blogs: Here you can view all the blogs on your website, publish or unpublish them and some information about the date they where created, by whom and number of posts in them.

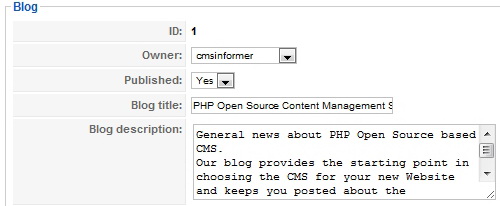
Clicking on a specific post will open a detailed view where a small description of the post is available.

The Blogs page is also where you can import blog posts into Joomla! content, when someone writes an article in the imported blogs an article is also created in a Joomla! category.
To import a blog just select the blog or blogs you want to import and click on Import content in the upper right corner of the page.
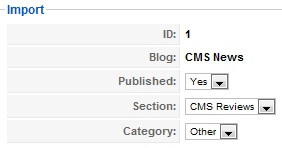
The import blogs window will appear, select the Section and Category you want and click on Import.
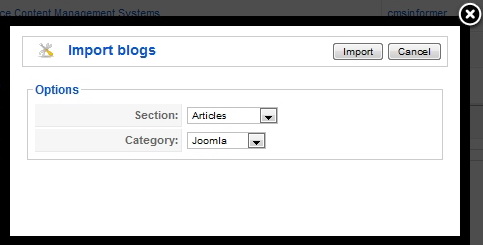
The import function can also be used to import only some posts from a specific blog. This can be done in the Posts section in the same way as the blog imports.
Posts: All the posts in your Deluxe Blog Factory component are found here.
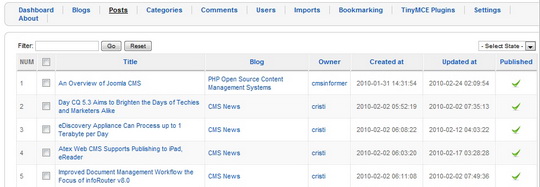
You are shown some information about the posts, like the owner, date created, status and the blog it was posted in.
In the lower section of the page the display options are found, number of posts per page and page number. If you select to view all the posts in a continuous list the page browser will disappear.

Now you can see all the details and content of that specific post. You have the poster (username), the state (published or not), comments (on or off), category, title, content, tags, meta description and meta keywords. After editing press Save to keep any changes you might of made and close the post or click Close to just close the post without saving. 
You can publish more then one post by checking the boxes next to the desired posts and clicking on the Publish/Unpublish buttons in the upper right corner of the Backend Menu.

To view/edit a post click on it or check the box next to it and click on edit, this will open the detailed view.
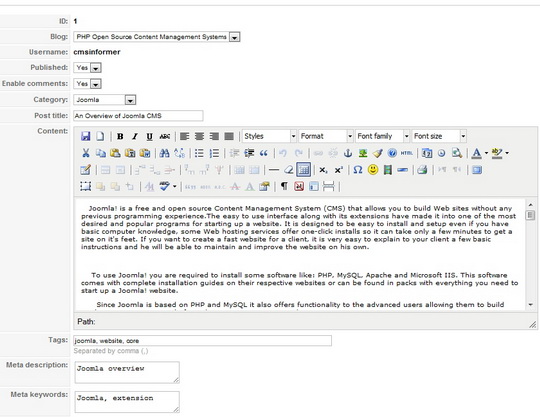

To view/edit a post click on it or check the box next to it and click on edit, this will open the detailed view.


To delete a post or more just check the box next to it and click Delete in the upper right corner or the page while viewing the Posts list.
Articles can also be created in the backend if desired by clicking on New in the upper right corner of the page, select the Blog you want it to be posted in, category, fill in the other fields and press Save.
Articles can also be created in the backend if desired by clicking on New in the upper right corner of the page, select the Blog you want it to be posted in, category, fill in the other fields and press Save.

As you can see the Import content and Publish/Unpublish buttons can also be found here, like in the Blogs section.
Categories: Creating the categories, with their sub-categories can be done here.
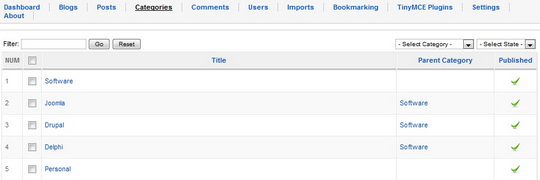
For a New Category press New and write the name you wish, assign it to a “Parent” (a category that comprises other small ones) and press save. You can only assign Main categories as Parents, main are those that are not under other categories.

Comments: Here you can view all the comments made on posts. Who has made them, on what date, what post, the state and if it has been reported.


Users: Here you can find all the users on the blog and edit their info if you want, on the list you see their Name, Username, Website and Blog if they have one. You can filter to see only user with or without blogs if you want by selecting which in the -Select Users- dropbox.
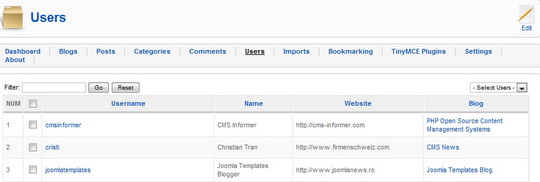
Clicking on a user will open the edit screen where you can change his name and website.

Imports: The imports you have made on your website appear here, you can see the Section and Category they are in and whether they are published or not,

by clicking on the imported content you open the edit screen where you can change the Section, Category and publish state.
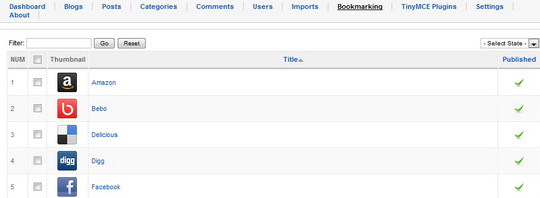
Bookmarking: Deluxe Blog Factory features a lot of Bookmarking sites (Digg, Twitter, etc.)
The bookmarks are shown on every post, you can choose which ones to use by publishing or unpublishing them,
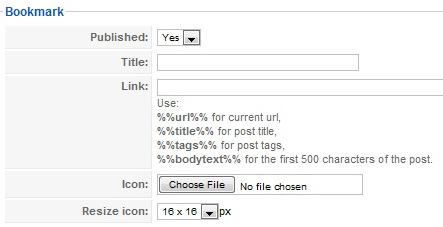
you can add others if you want by simply clicking New, in the upper right corner of the page, and filling in the required fields.
Tiny MCE Plugins: TinyMCE is a platform-independent Web-based JavaScript HTML WYSIWYG Editor control. You can install any Tiny MCA pluging you want, by default, Deluxe Blog Factory comes with Youtube plugins already installed.
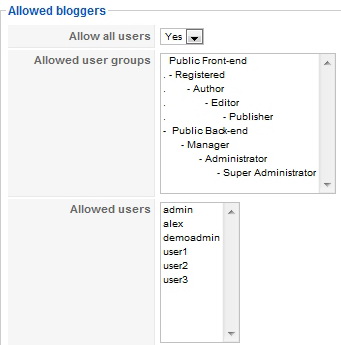
Settings: Here is where you configure you Deluxe Blog Factory component.
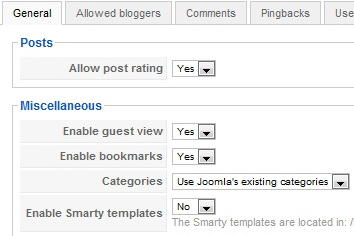
General: Some basic settings are found here, like:
- Post rating: Users can vote on every article on the website.
- Guest View: Choose if you allow guests to view content on the website.
- Bookmarks: Enable or disable bookmarks on posts.
- Categories: Select which categories to use.
- Smarty templates: Enable or disable smarty templates.
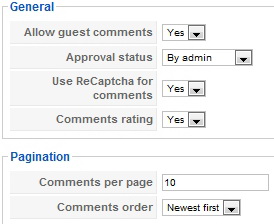
Comments: Here is where you set the commenting options:
- Guest comments: Choose if you allow guests comments on the website.
- Approval status: Choose who gets to approve comments, or auto approve.
- ReCaptcha: If you want ReCaptcha words on comments (anti-spam feature).
- Comments rating: If users can rate comments.
- Comments per page: How many comments to display on a single page.
- Comments order: Select if the Newest or Oldest comments are shown first.
Pingbacks: Select if to allow pingbacks and update services.
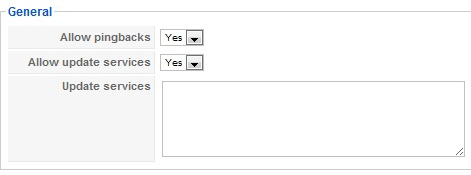
A pingback is an XML-RPC request sent from Site A to Site B, when the author of a blog at Site A writes a post that links to Site B (via hyperlink). When Site B receives the notification, it automatically goes back to Site A checking for the existence of a live incoming link. If the link exists, the pingback is recorded successfully. Pingbacks are less prone to spam than trackbacks.
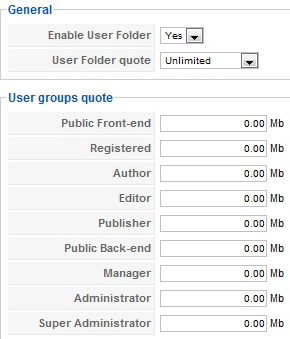
User Folders Quota: Here you can enable the user folders and choose if they are allowed unlimited space or a fixed amount. If you don't want all user classes to have unlimited quota you can type "-1" in the ones you want to give unlimited space and individually set it for every user group to the amount you want.
Avatars: Here you can select if you want to enable avatars and set the resolution. Deluxe Blog Factory also gives you the option to use Community Builder.
ReCaptcha: Deluxe Blog Factory uses ReCaptcha for anti spam, to enable it on your website you must register for an account on the ReCaptcha homepage and they will provide you with the required information to fill in the public and private key fields.

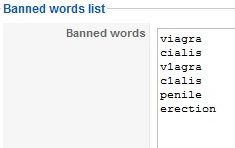
Banned words list: Here you type the words you don't want to be posted in comments, user comments that include words on this list will be rejected.
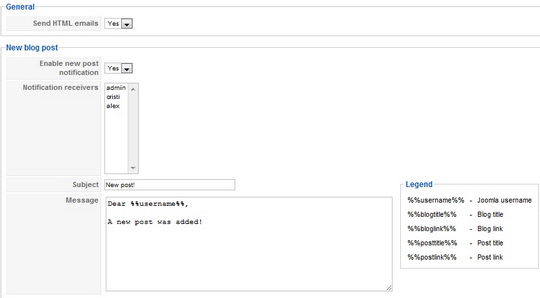
Notifications: Here you can set and enable the notification messages for all types of actions, like new posts, new blogs, reported comments. All notifications are sent via email.
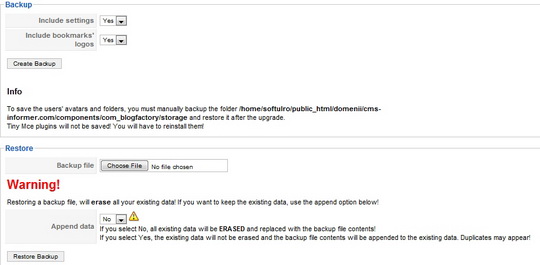
Backup and restore: This is where you create a backup or restore you Blog with a previous backup.
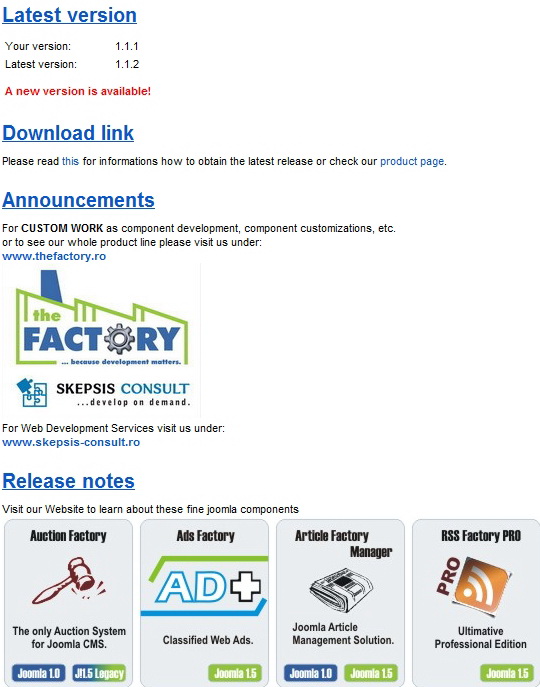
About: The About section shows you if there are any updates available, the latest announcements from The Factory and links.
Revised "Deluxe Blog Factory" version 1.1.1.