Deluxe Blog Factory is a multi user blogging component from The Factory developed for Joomla! 1.5. Deluxe Blog Factory comes with everything you need for blogging so you do not need to install additional extensions, everything is found within the Blog Factory component.
- Multi Blogging: unlimited number of users can have blogs on the same website.
- Comments with integrated Captcha words to prevent spam.
- Fully SEF and SEO oriented, SEF urls.
- Import Blogs into Joomla content.
- Full control over the Blog component from the administrator backend.
- Follow other blogs and be followed.
- Social networking websites bookmarking.
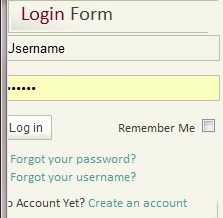
Before you can start blogging you first have to create an account, click on Create an account, usually located on the Login Form.
A Registration form should appear looking like this:
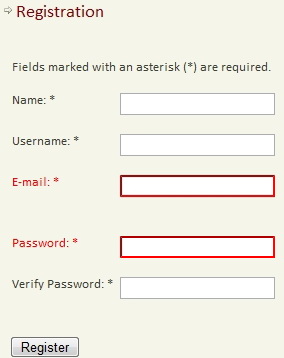
All fields are mandatory and should be entered correctly, depending on the website settings the account will be activated instantly, by email or by an administrator. The Username is the one you will be using for logging in.
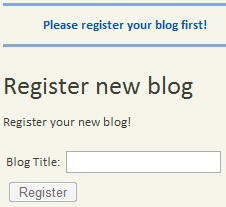
After registering a blog you can go to My Blog Dashboard to see the content of your blog, comments and followers.
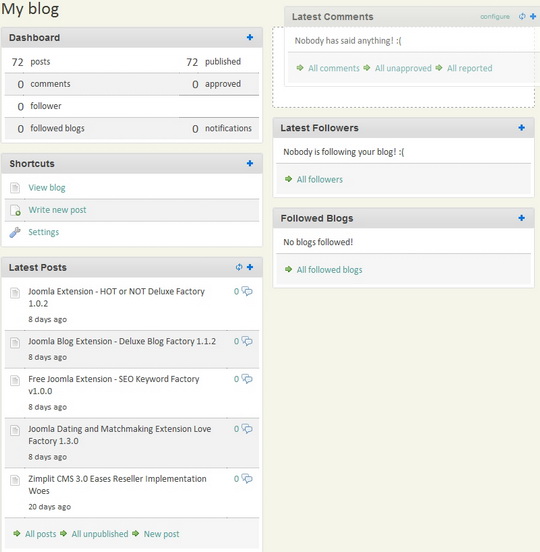
The Deluxe Blog Factory component has a Web 2.0 Dashboard that allows you to drag and arrange the panels as you wish only by clicking and dragging with your mouse. You can hide or show any panel by clicking on the + sign found in the right corner of each panel. The Latest Posts and Comments panels also have an individual refresh button so you don't have to refresh the entire page to see the latest comments or posts.
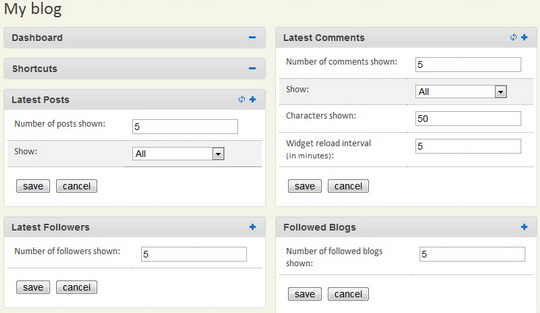
For instance the Latest Comments panel has the option to choose how many characters of the comments to show if a specific comment exceeds the set amount. You can also set the widget reload interval in minutes. When you are done with the configuration press "save" or "cancel" to return to the normal view. Each panel loads and refreshes individually so you don't have to worry about losing changes made to another panel if you are editing more than one at a time.
In the Settings page of the Deluxe Blog Factory component you can find General and Avatar settings, and Blog settings if you have a blog created.
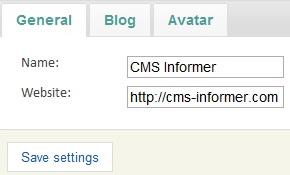
Under the Blog page you will find the Blog description, number of posts per page, pingbacks, update notifications, comment notification and report notification.
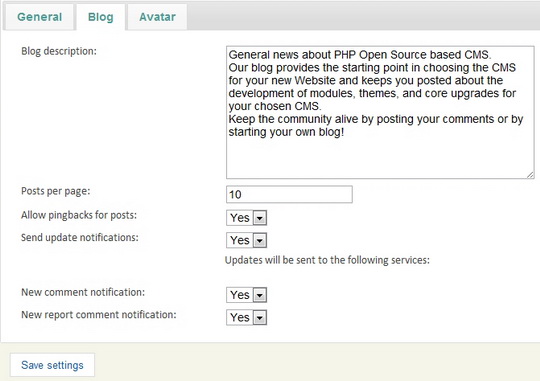
Selecting "No" for "Send update notifications" will disable both the new comment and report comment notifications.
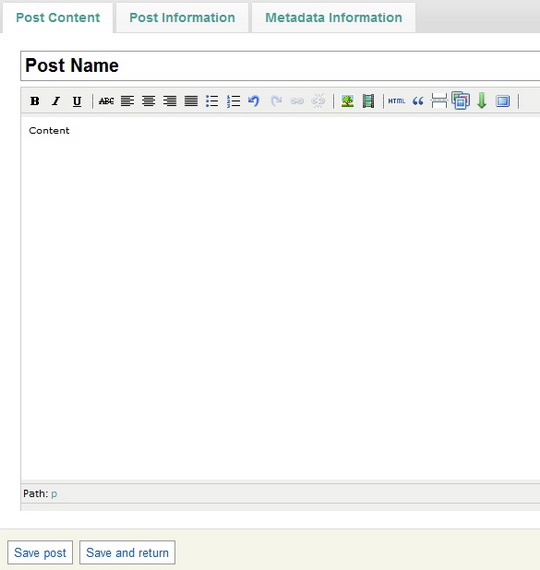
Under the Post Content section you have the Name and the main body of the post, where you write the actual article. On the toolbar under the Name you have a few text features and Media management. Clicking on the green downward arrow opens the second toolbar with extra text editing features like font or text color.


To access the Media management panel click on the respective thumbnail and the folder manager will pop up.
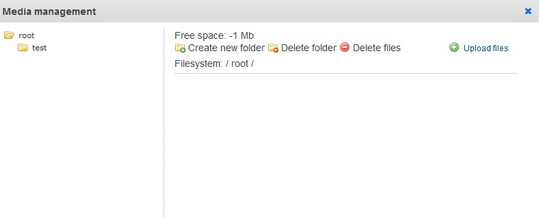
You can add as many folders as you want, delete them and upload files to a file. When you upload files they will be stored in the folder you are browsing at that time. Moving files can be done by clicking on the item, dragging and dropping it over the folder you want to move it in.
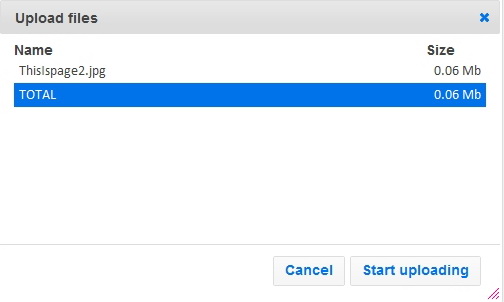
Now that you have uploaded content on the website, you can use it in any post without having to look for it on your hard drive or use the files when you don't have access to your computer.

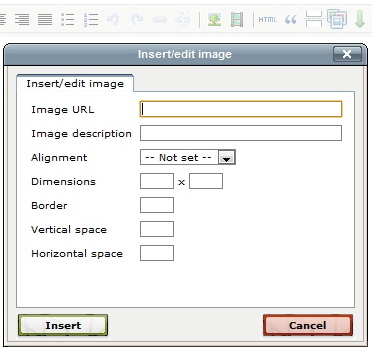
This is used for adding images located on the internet, just paste the link of the picture in the Image URL space. There are also some alignment and dimension options available.
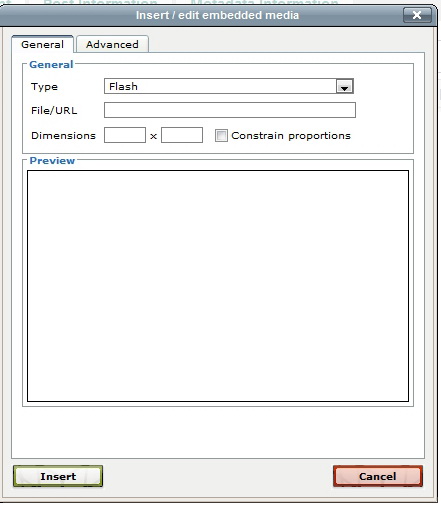
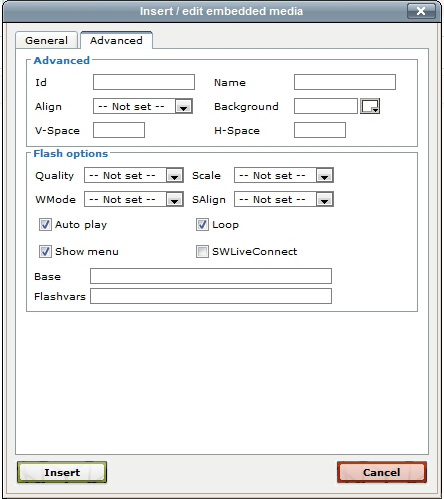
When you are done adding content to the post you should go to the Post Information tab and add tags, choose category, select if you want to allow others to write comments on your post or allow pingbacks.
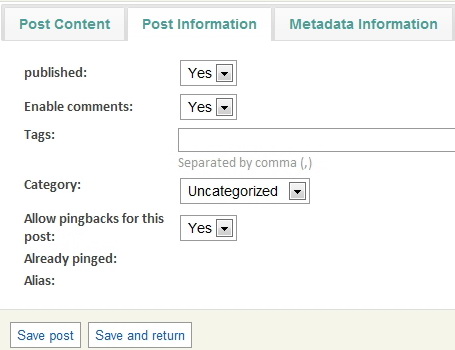
Optionally you can add Metadata Information like a description and keywords.
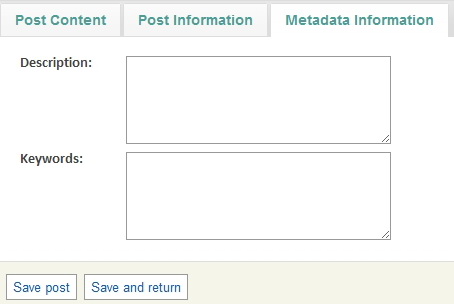
After you are done with everything click on "Save post" or "Save and return" which will return you to the previous page. You can edit posts from the dashboard in the Latest Posts panel or by clicking on the edit icon when viewing the post in your blog.The button is located under the post.

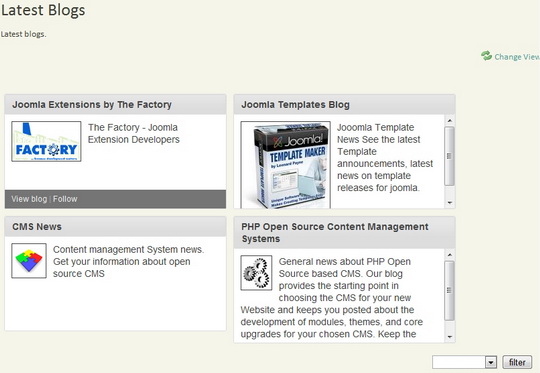
If you want the blogs can be shown either in thumbnail mode or in a list where the owner is also shown by clicking on "Change View". If you want you can view only the blogs you are currently following by using the filter.
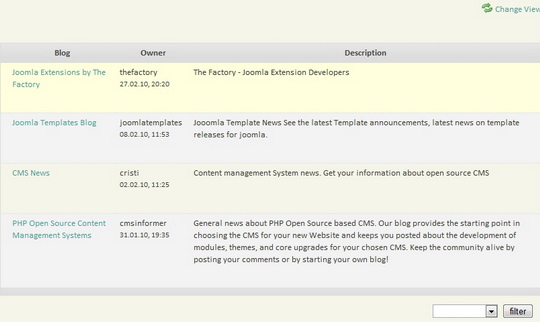
By hovering your mouse over a certain blog, a bar with the View blog and Follow options will appear. If you select to follow a blog you will be announced if the owner posts anything new, the notification is sent via email.
To view the specific blog click on View blog or the blog name, depending on the view you chose.
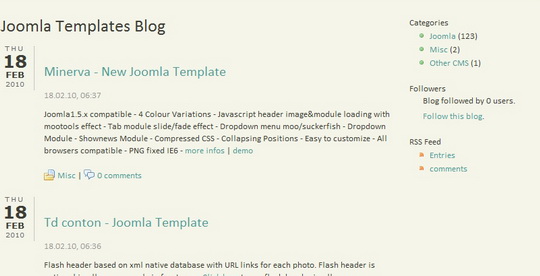
Here you see all the articles on that blog along with some Category options, its followers and the RSS feed. Under each article its category and number of comments is shown. If you click on a specific category only the posts under that category will be shown, to view all the posts again click on the "all categories" text that will appear under the name of the blog.

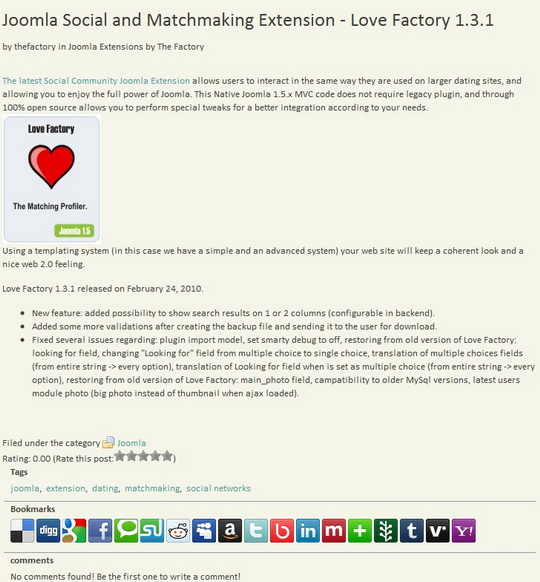
Here you see the whole post along with its tags, category, comments, rating, the Bookmarks and who posted it under what blog.
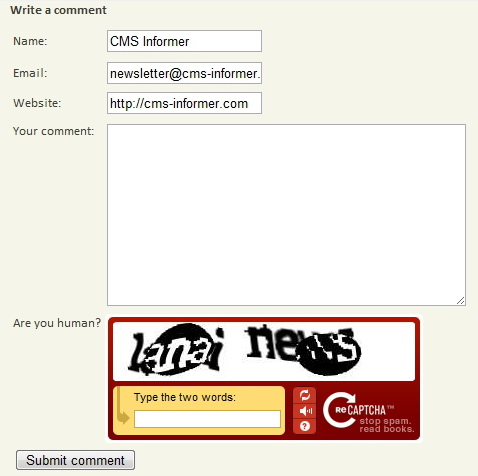
If you want to submit a comment just fill in the fields in the "Write a comment" section, enter the correct Captcha word and click Submit. Comment may have to be approved by the blog owner or the administrator of the website.
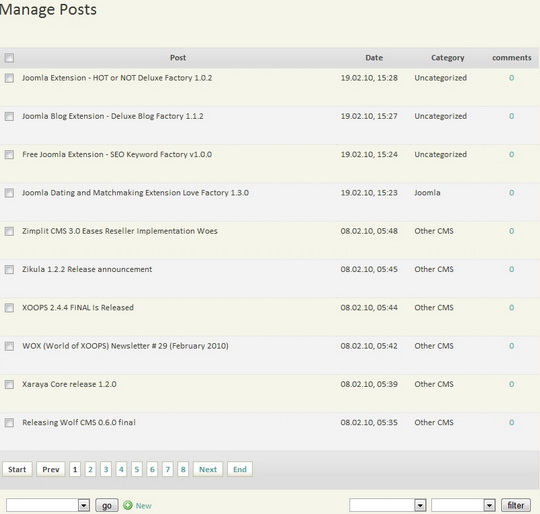
To view the latest posts on the website click on Latest Posts on the main menu, this will show you a list with all the blogs in order from the last posted to oldest. All posts from all blogs are shown here, they can be filtered the same way as in the Blog view by clicking on the category or blog name of the respective post.
The Deluxe Blog Factory component comes with seven modules for easy display and management of content on your website: Tag Cloud, Random Blogs, Latest posts, Top Active blogs, Top Rated Blogs, Top Rated Posts and Search.
Revised "Deluxe Blog Factory" version 1.1.1.